 Garden and patio decoration inspiration

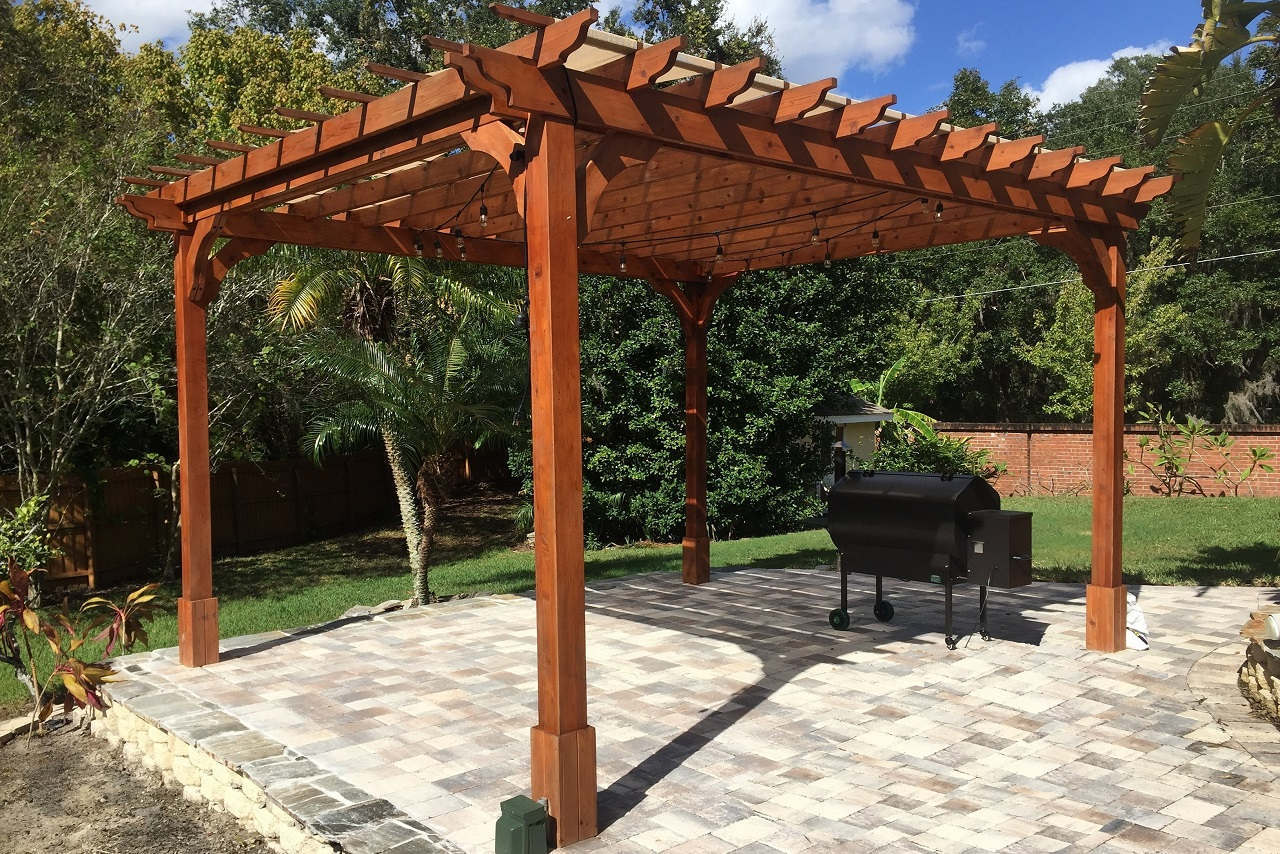
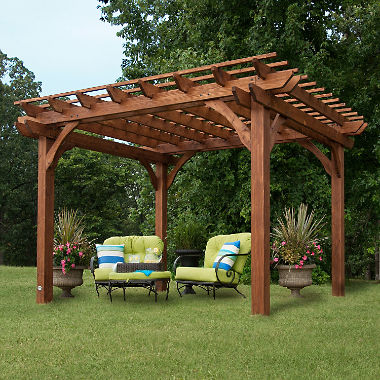
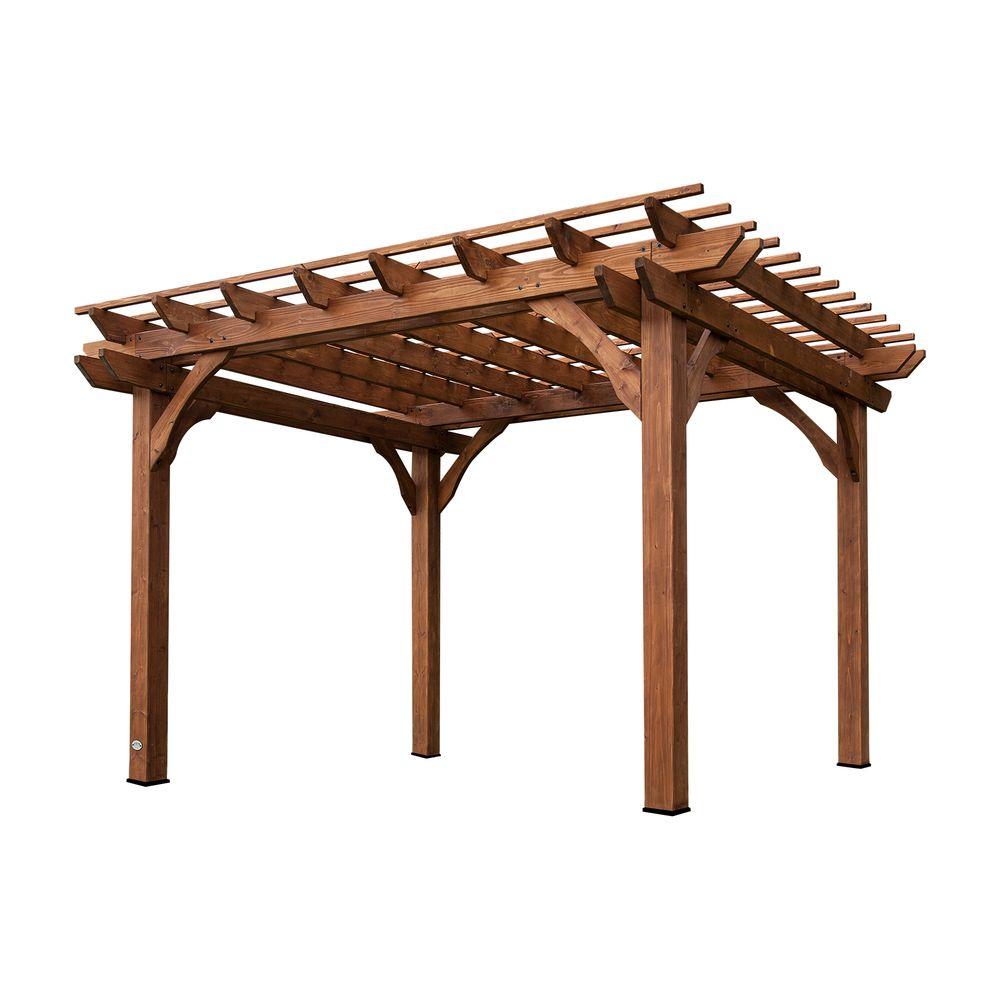
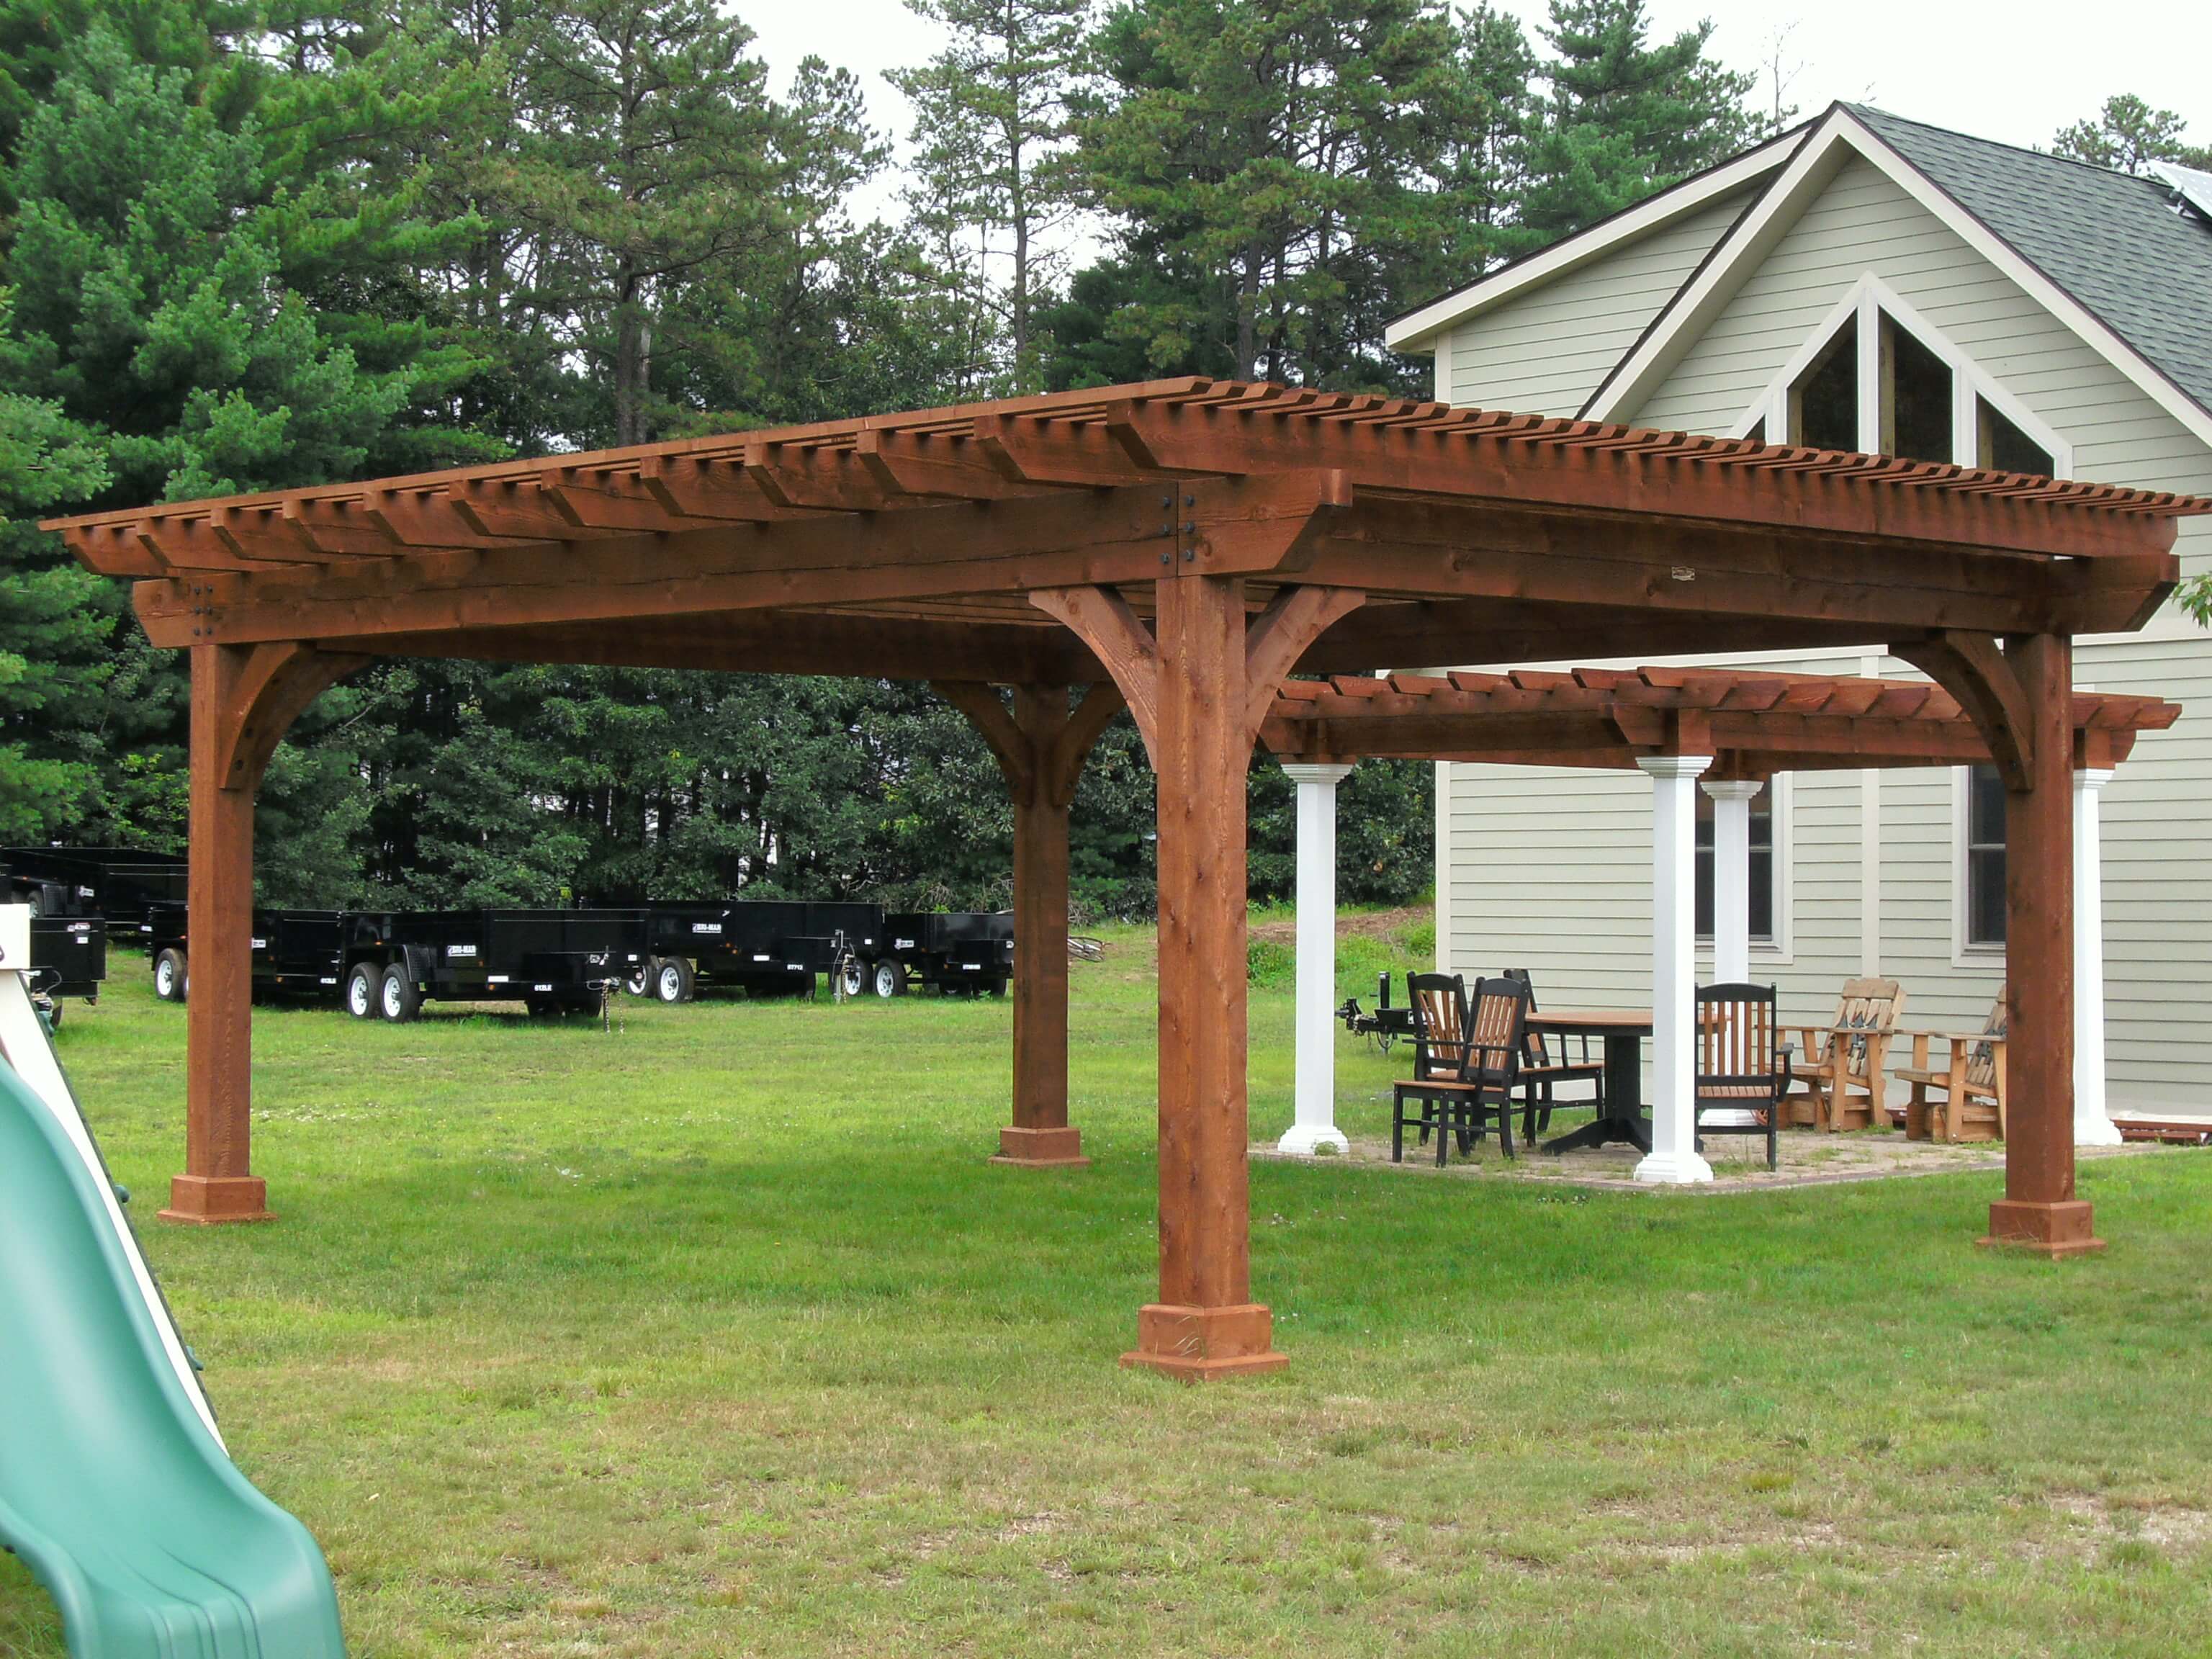
This is a structure that protects someone from mid-day sun rays but in prone to rains and winds. These two cannot be suppressed by a cedar pergola. Often built to provide shelter to people who don’t intend to stay indoors or; who want to enjoy warm air outside their houses or wherever it might be., Technically, cedar pergolas put someone inside and outside at the same time from its masterpiece of art. Cedar is the main material used as it resists decay.
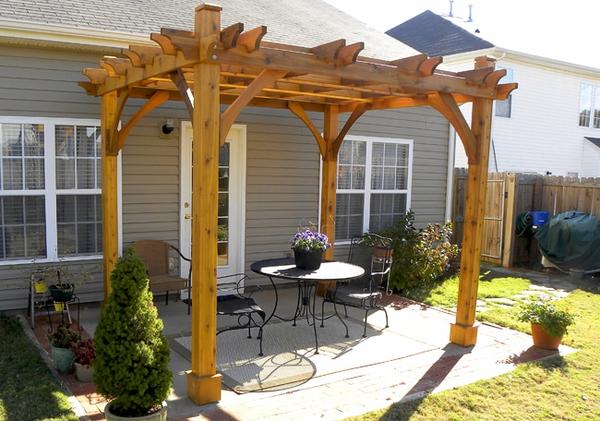
Install the cedar posts: Normally, four cedar cores that are sheathed with 1 times cedar. A concrete pad is often used to reinforce the posts and if not available, longer posts are used in order to sink it deeper beyond the frost line.
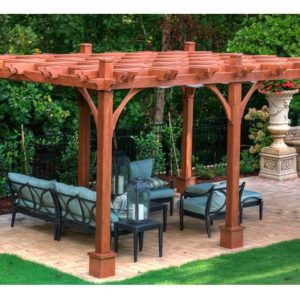
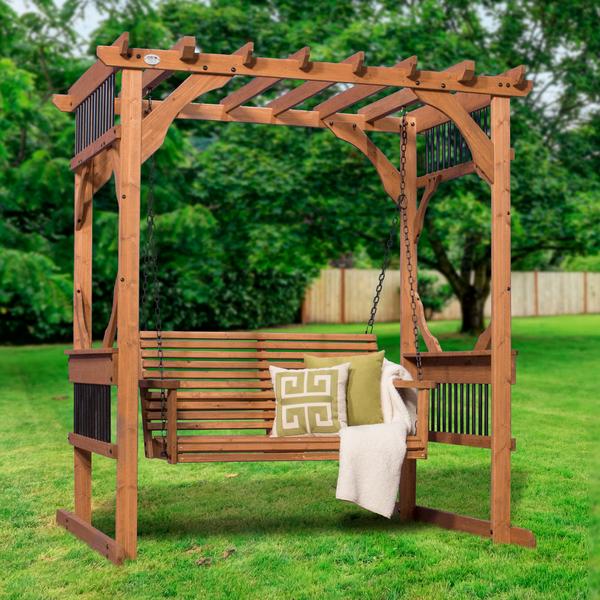
Lay out the various positions of the poles and mark the regions where screwing is to be done. Topcon screws are the most preferred to bear the holes into the posts. Hold the cedar posts and drive nails through past the anchors in the wood and ensure that the joint is firm enough to support the whole structure.
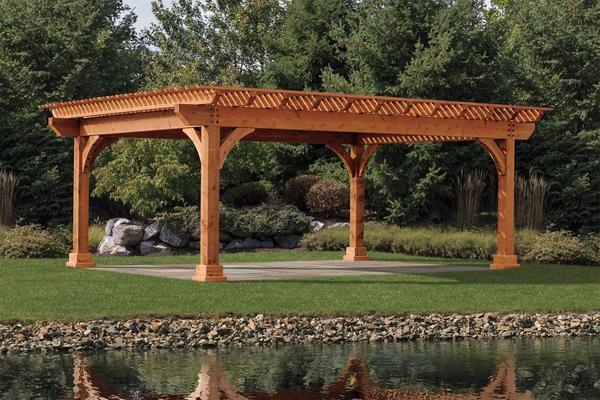
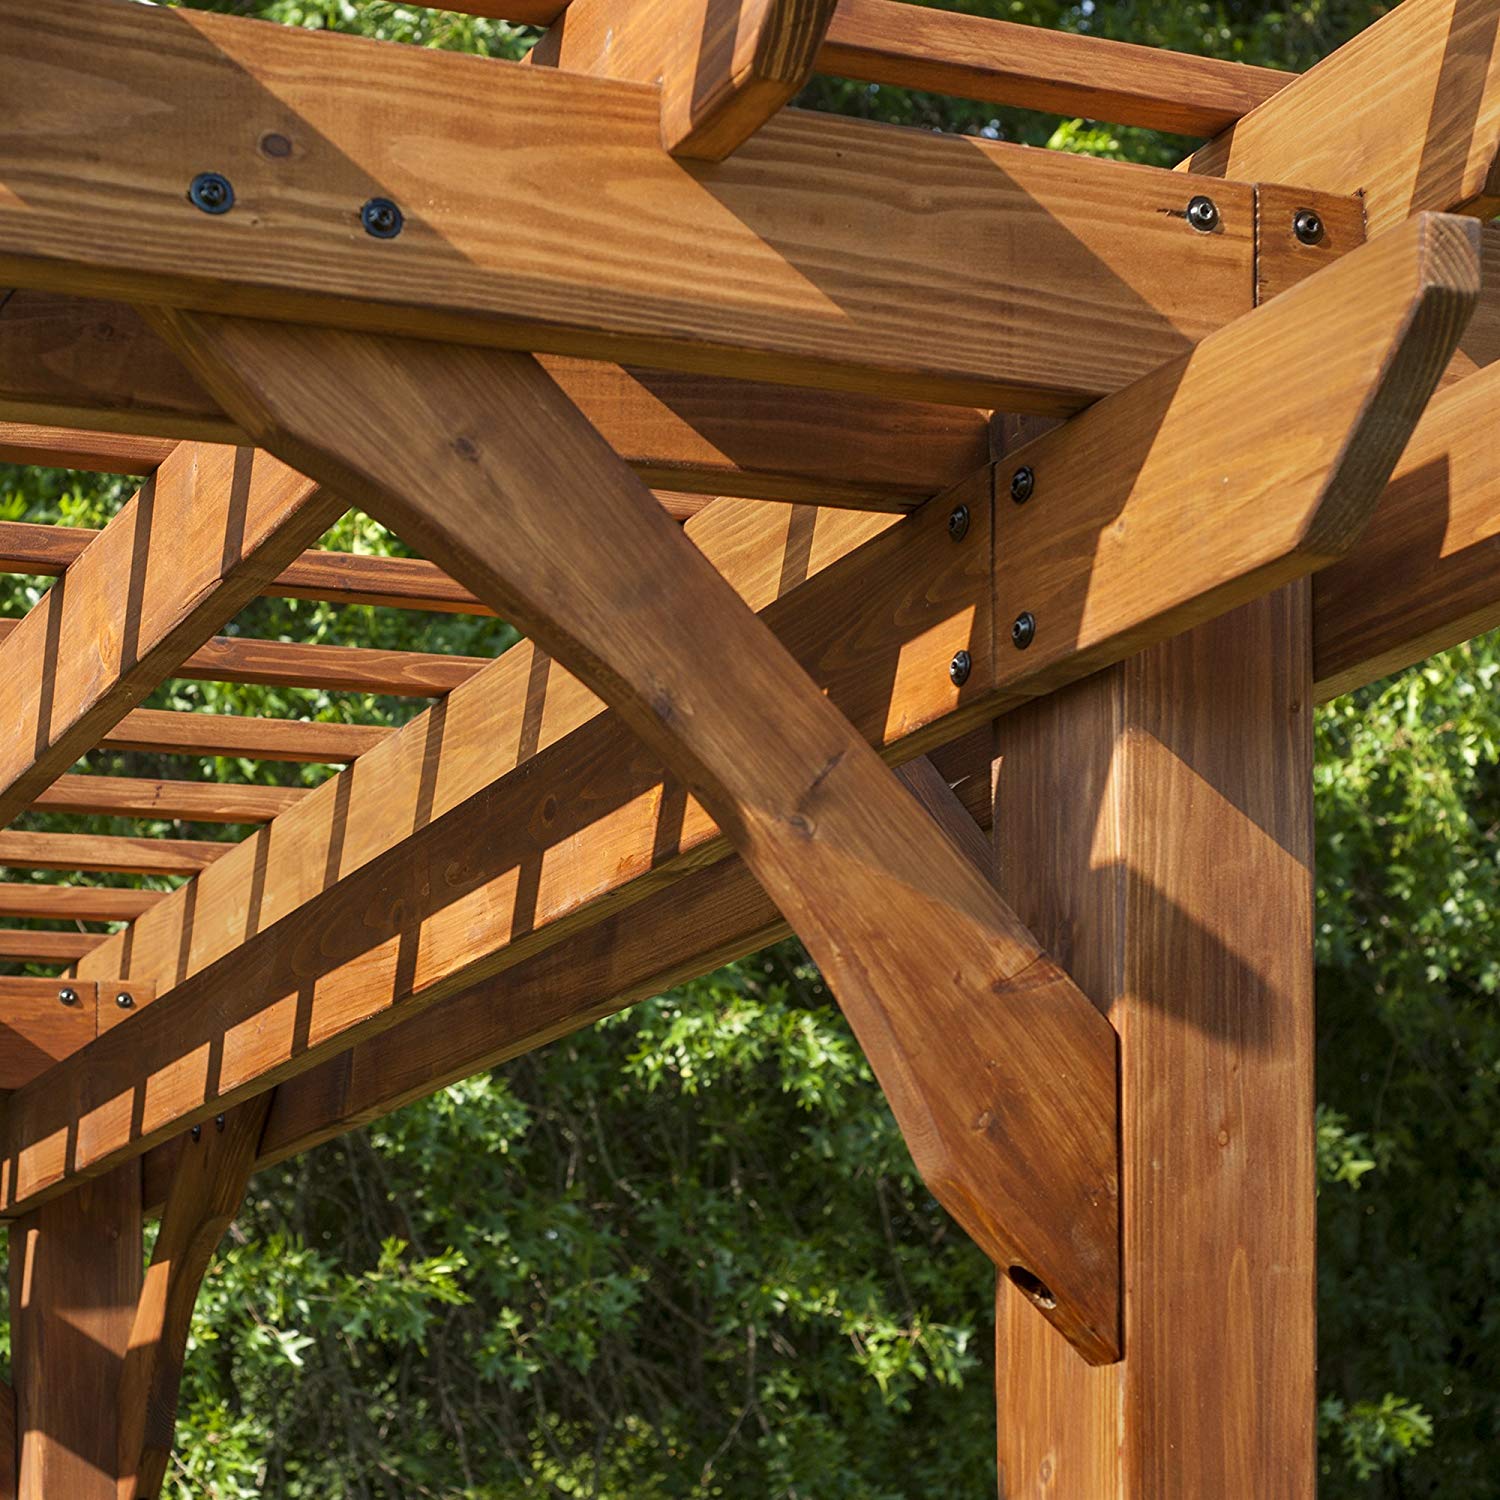
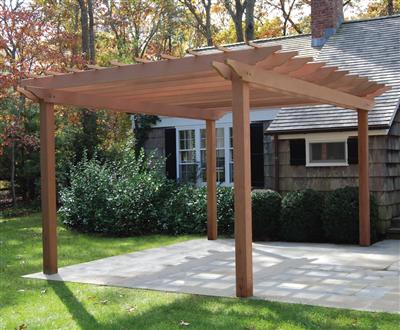
Attach support beams: Get the cedar support beams and cut them to a 2metres by 6metres. Use a template to mark the beams to ascertain the location where the curved notches are to be cut. Use a jigsaw to cut them out with precision. Ensure that the posts are of the same height and firm before attaching the support beams.
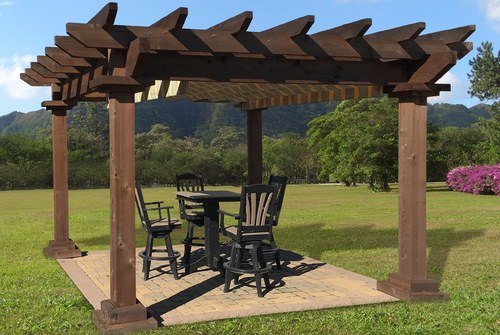
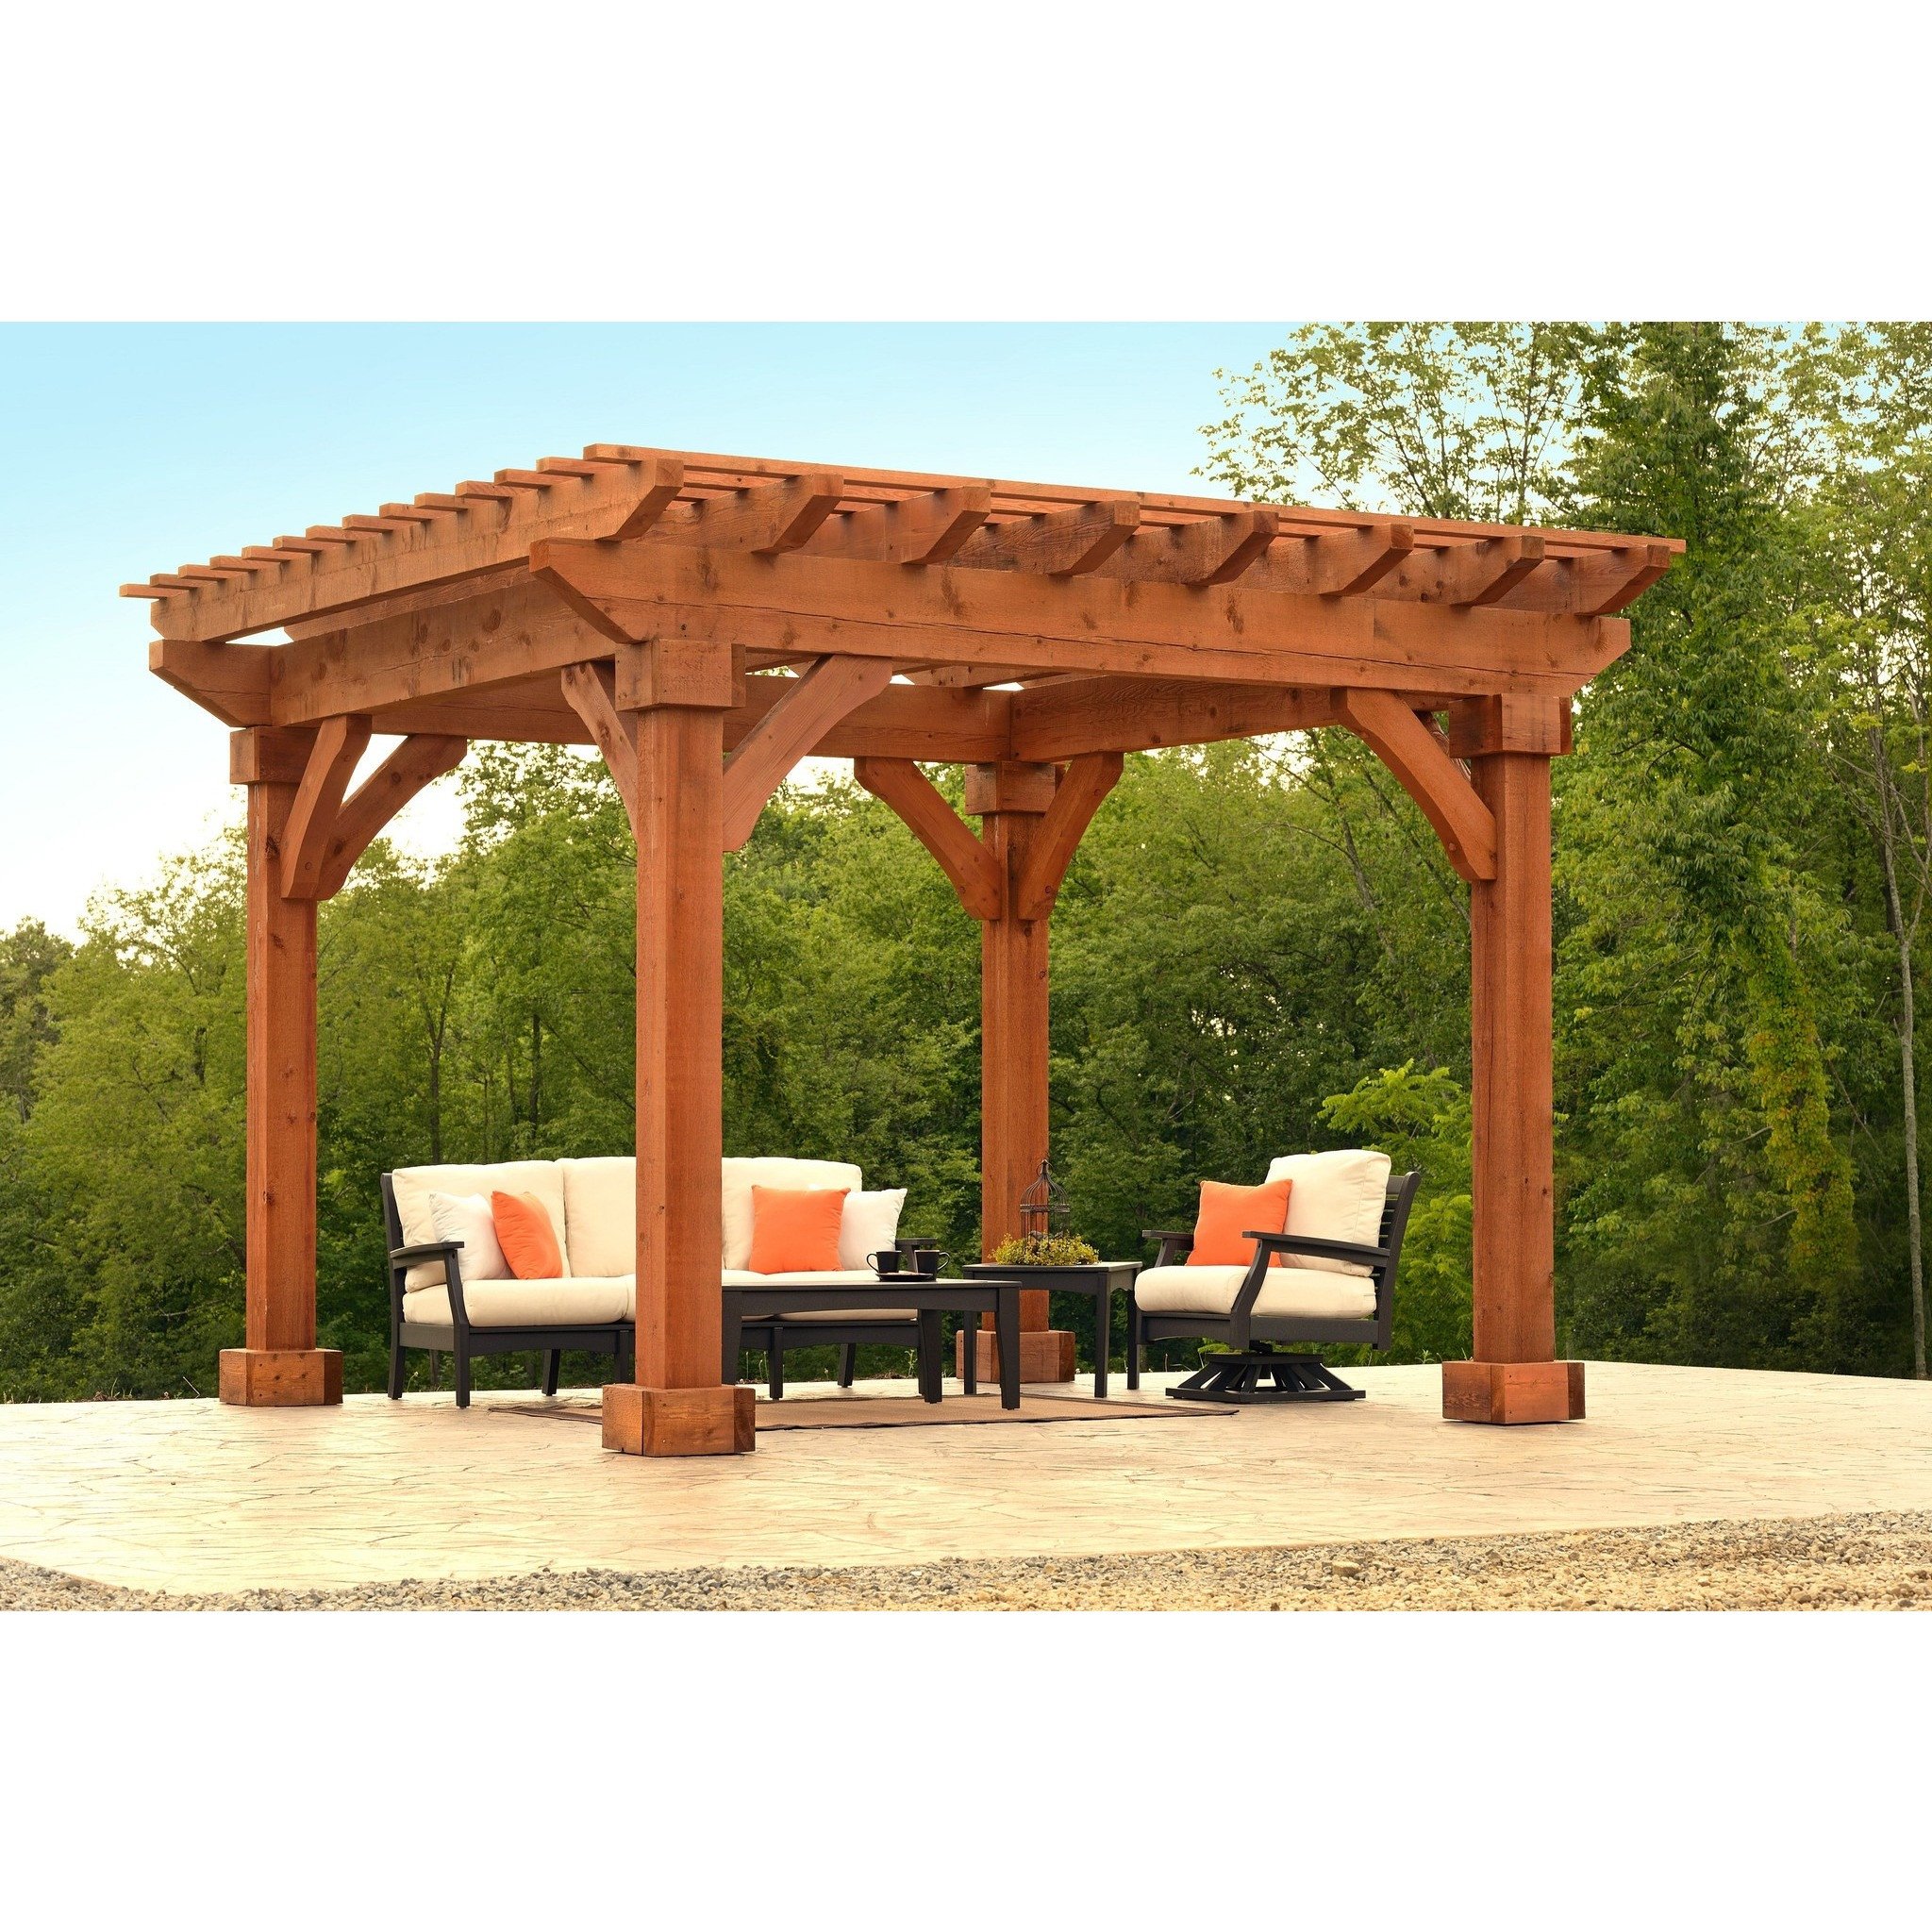
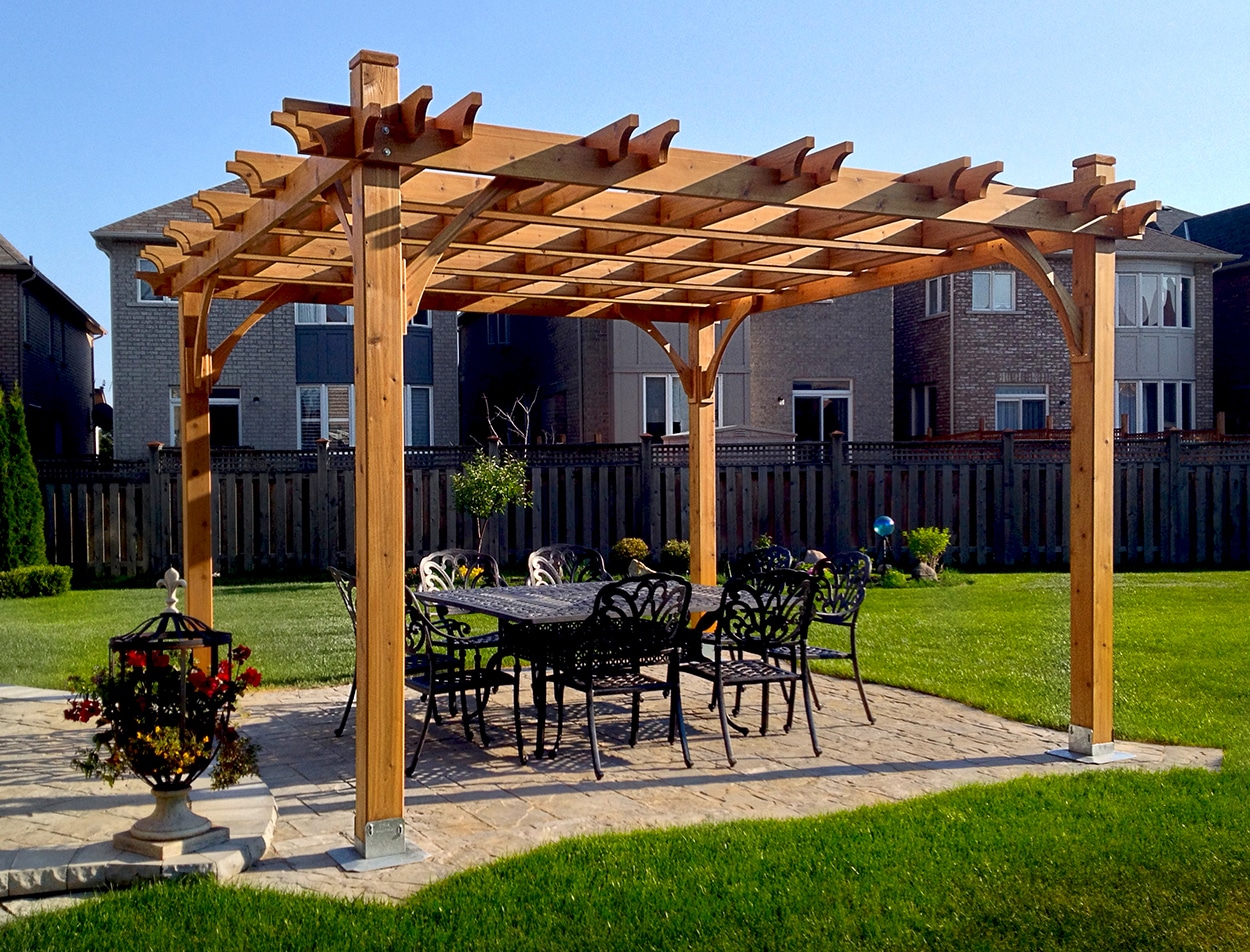
Addition of crossbeams and trim the posts: They are notched to fit right on top of support beams. A dado blade is ideal for notching these crossbeams. For aesthetic purposes, make the curved end cuts. Crossbeams are first installed, holes bored down through their top edges. The crossbeams are attached to the support beams, do this for all pairs of beam.
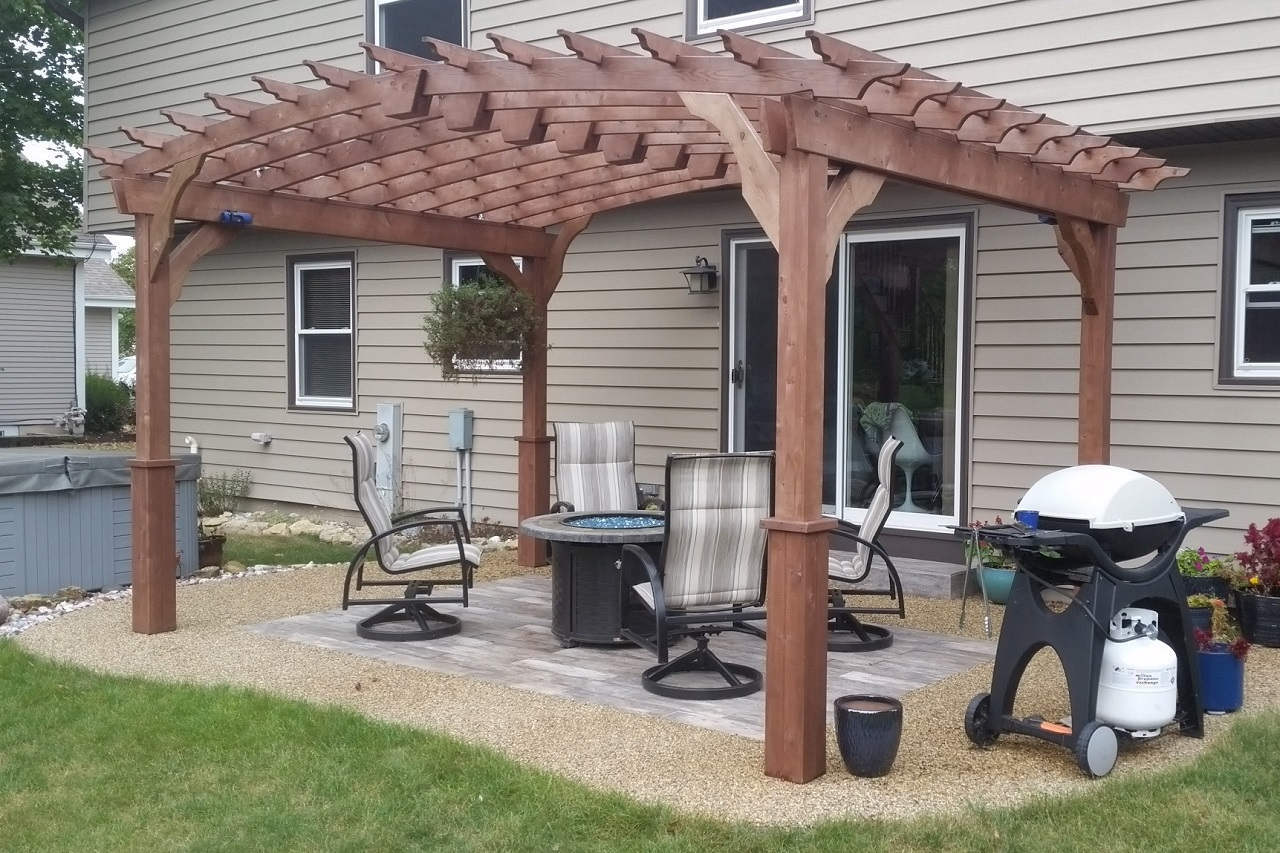
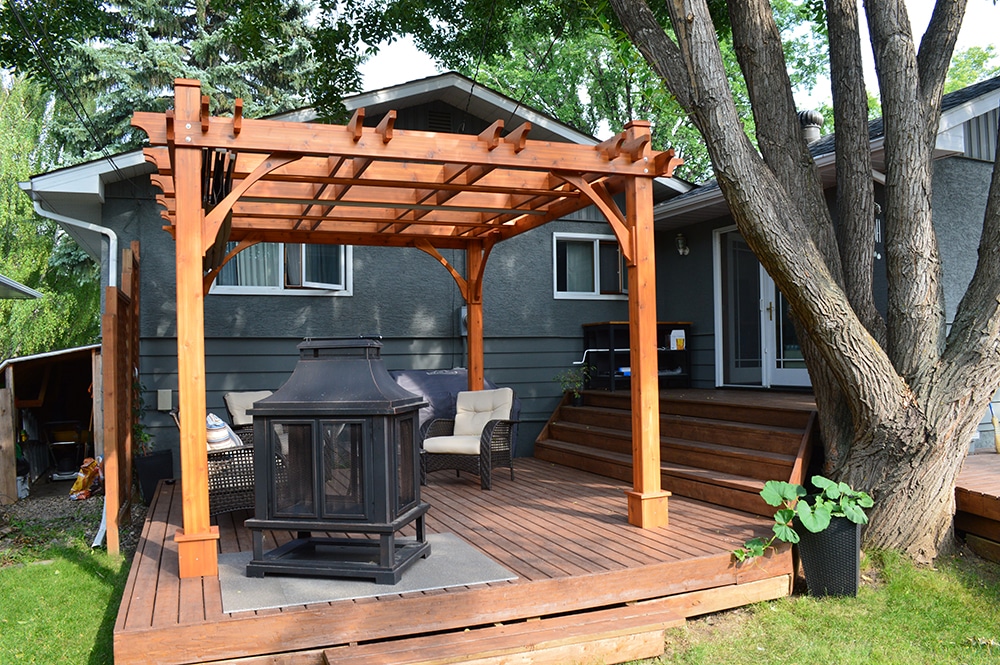
Fit the top slats and cap the posts: Cut the slats into the desired shape and size and clamp them to on the crossbeams. Use a longer board with a stop across to lift the blanks. Clamp them with 6d of galvanized finishing nails.